Create ThinkGeo API Key
To access ThinkGeo's Cloud services, you'll need a ThinkGeo account.
1. Go to https://cloud.thinkgeo.com

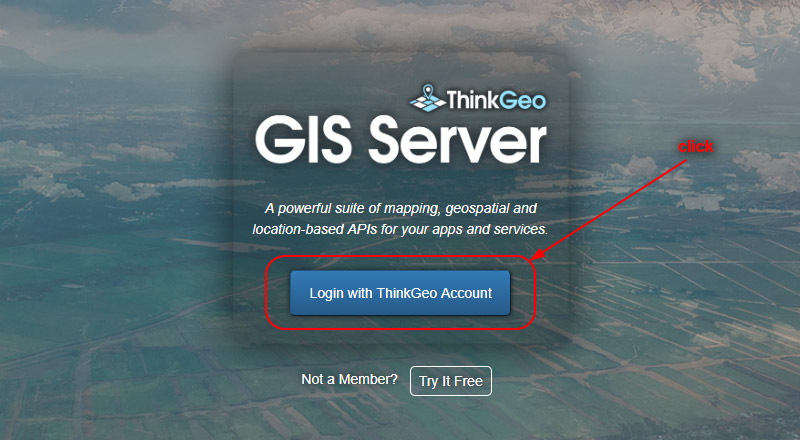
2. Login with Your ThinkGeo Account
After clicking the Login with ThinkGeo Account button, you will be taken to the login page shown below.
 If you already have a ThinkGeo account, simply enter your username and password and click
 Login. You can then proceed to step 4, "Get an API Key".
If you don't have a ThinkGeo account yet, proceed to the next step.
3. Create a ThinkGeo Account If You're a New User
If you do not have a username and password, simply click Register for Free to create a new ThinkGeo account.

Provide the requested information and complete the signup process.
After registering, you'll receive an email containing a link that you must click to activate your ThinkGeo account. Once you've done that, return to https://cloud.thinkgeo.com and follow steps 1 and 2 above.
3. Get an API Key
In Cloud Server, the API services do not allow access without authentication. If you try to access the APIs without authentication, the Cloud Server will return an HTTP 401(Unauthorized) error. An API key is used to authenticate your application and allow you access to the Cloud Server RESTful APIs. By default, Cloud Server will create 2 default clients for the new accounts for trial/demo purposes. If you'd like to create the clients by yourself, please follow the steps below.
After you've logged in to the Admin Area, you should see some menus on the left-hand side. Clicking
Clientswill take you to the client management page and you will see:
Click the
Add Clientbutton under the clients table list. Now you should see a module like the one below:
Name: The name of the new client. (Required)
Granted Roles: The roles that you want to assign to the client. This section is used to control which APIs can be accessed by this particular client.
Type: There are 2 types provided in Cloud Server NativeConfidential and JavaScript.
NativeConfidential: The API key and API secret are required for the authentication. It returns an access_token if authentication is processed successfully. The lifespan of the access_token is one hour. You need to append the access_token to the request's header with key:Authorization and value: Bearer access_token before sending to GIS Server. The requests with NativeConfidential authentication can access all the APIs which are assigned to the granted roles.
- Javascript: Only the API key is required in the request query string:
apikey=your_apikey. The requests with this kind of authentication can only access the services plugin APIs such as ReverseGeocoder, Elevation, WorldStreets and WorldImagery but may only include the APIs from the Admin Area.
Status: Active or Inactive. If a client is inactive, the applications authenticated with it won't work anymore. This value defaults to true.
Allowed Origins: A collection of origins that you want to allow the origin at where to use this client. Each origin is separated by a comma (,).
- Click
Savebutton at the bottom of the modal.
Now, you've created a new client ready for use in GIS Server.
